
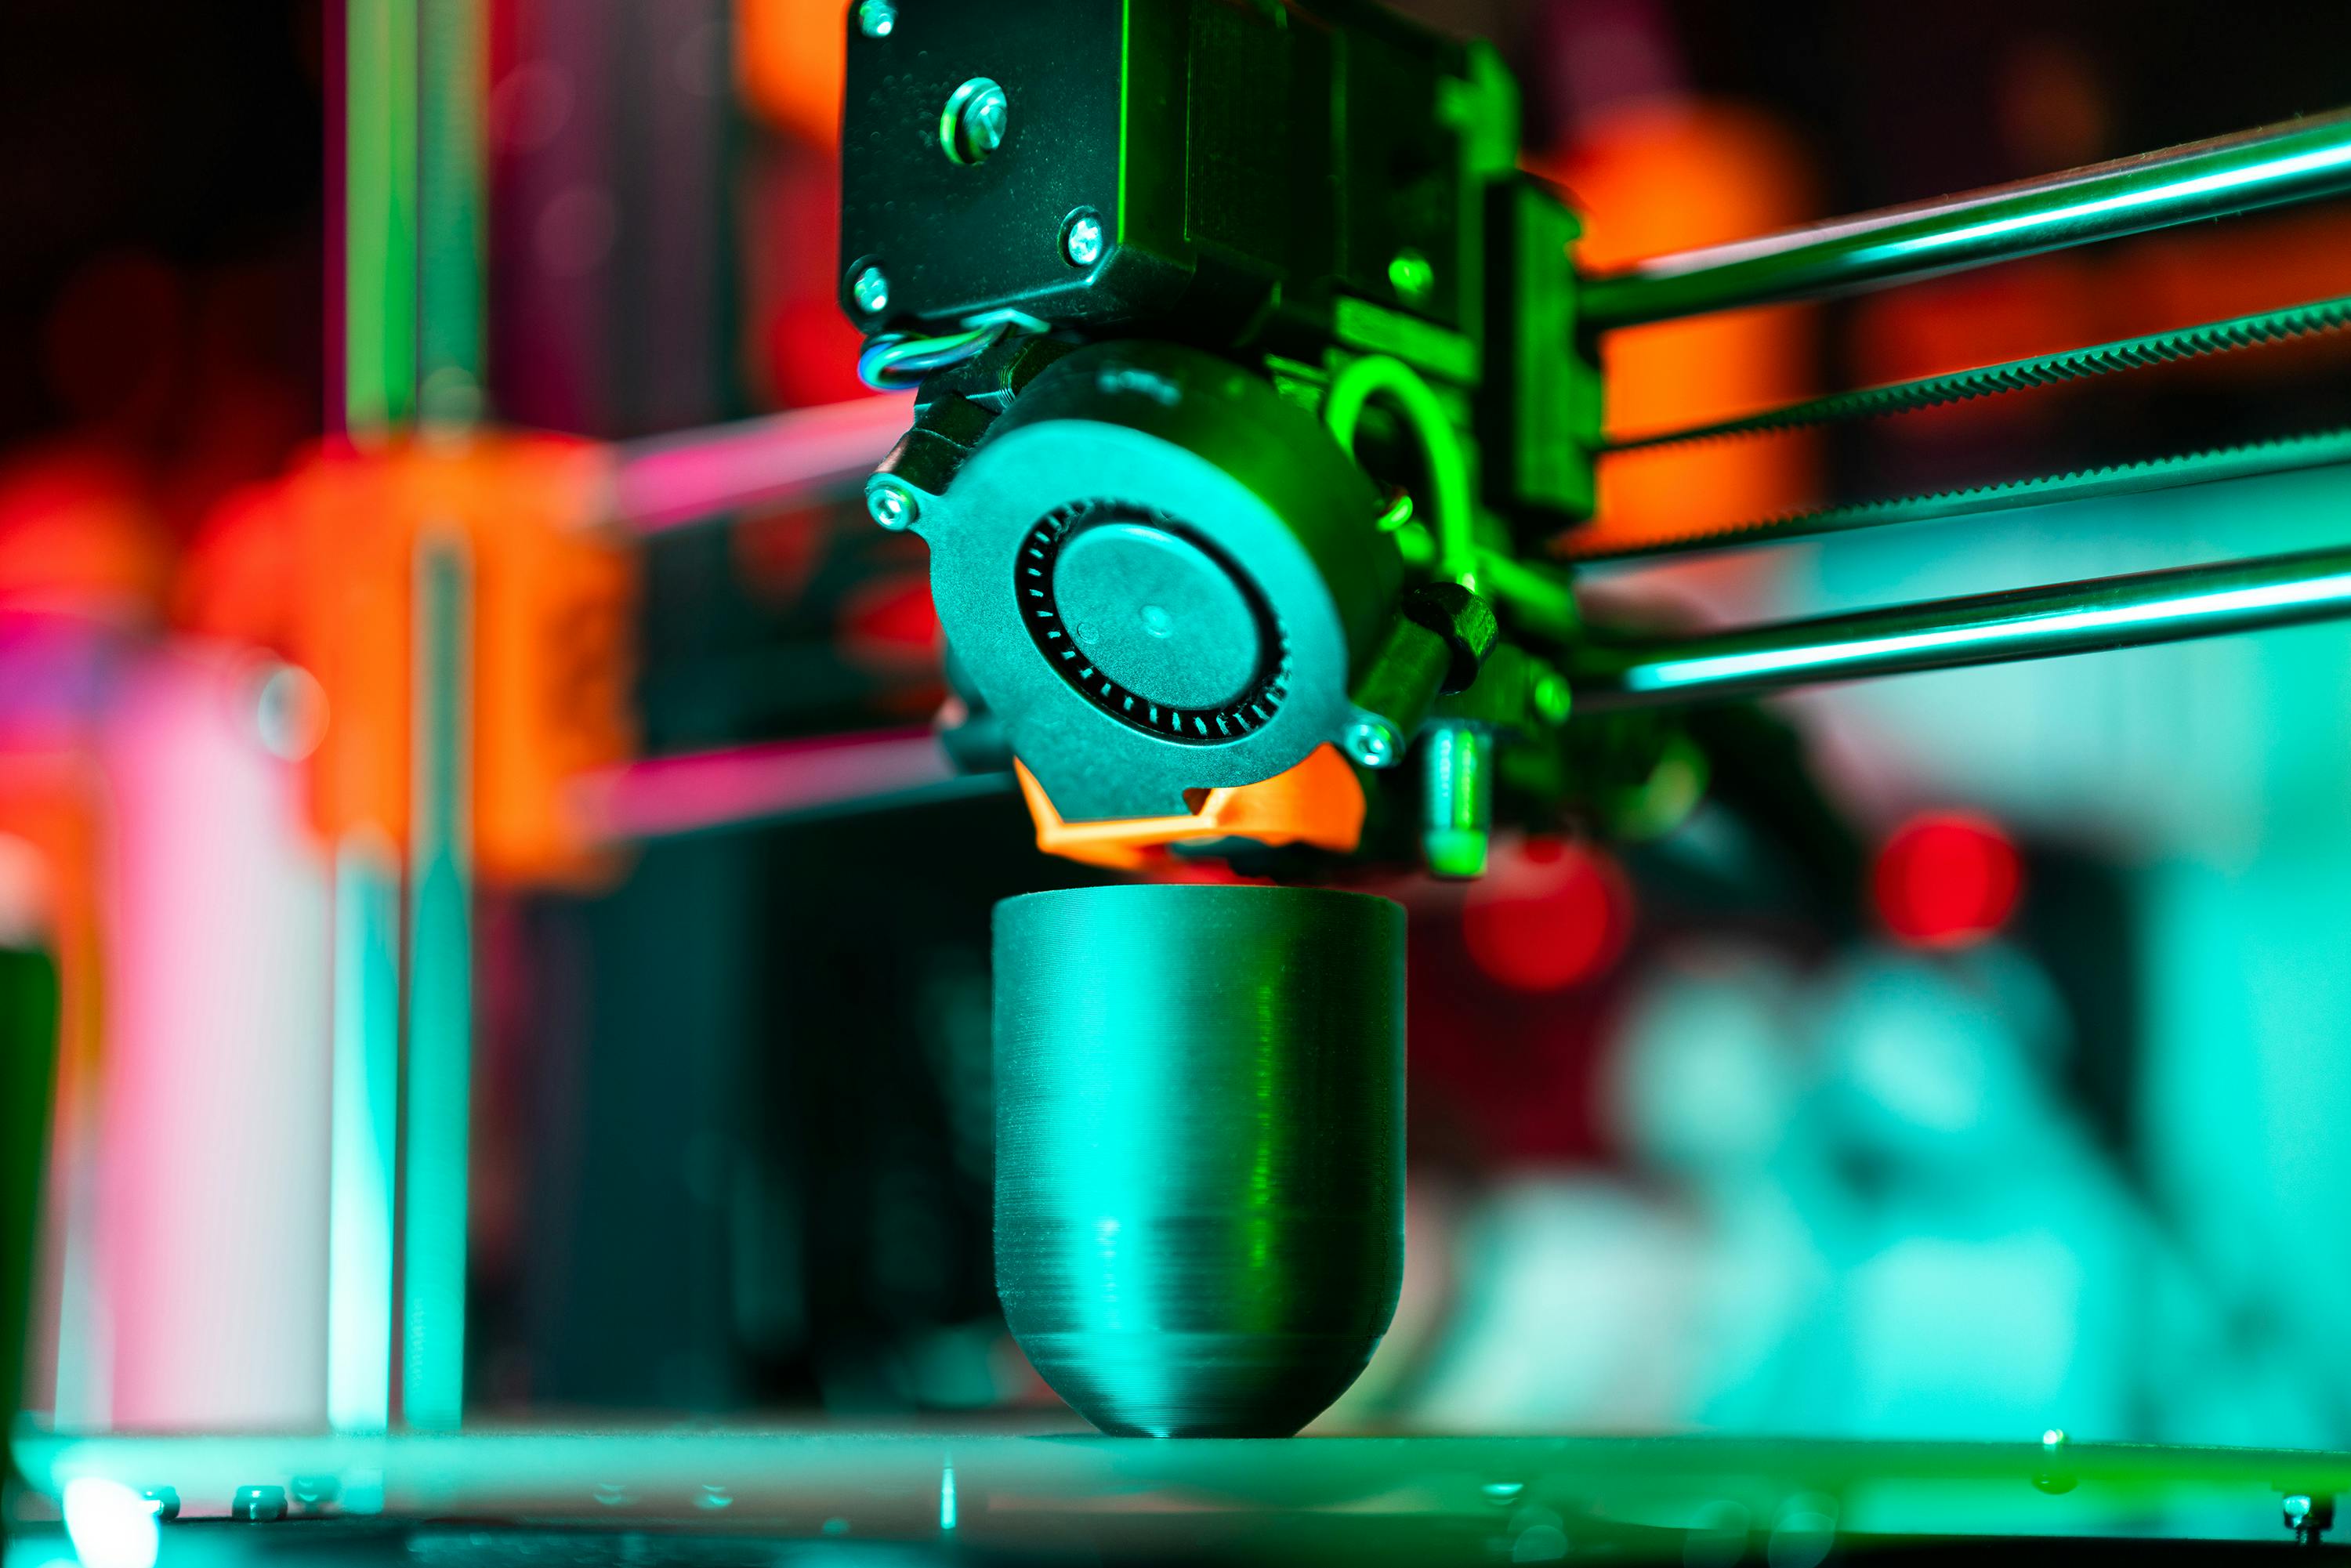
A consumer robotics startup we worked with spent USD 38,000 on a single-cavity steel mold for a gripper housing, only to discover in the sixth week that the living hinge they had simulated in CAD couldn't withstand 400 cycles when made with real resin. The mold was scrapped. The founders had eleven weeks of cash flow left, and the next trial production shipment was scheduled for the ninth week. If this team had spent USD 900 on three rounds of MJF and then USD 4,200 on an aluminum bridge mold before opening the steel mold, they would have discovered the hinge issue in the second week and completed trial production on schedule.
This is what rapid prototyping is truly about. The point isn't to "do it fast"—there are many processes that are fast enough. The point is to choose the cheapest path for each iteration that "still answers the question you need to answer this week"; by the time the team decides to open a hard mold, the design has already passed through failure modes that would kill the product in the mass production phase.
What Rapid Prototyping Actually Buys You
Rapid prototyping is the early stage of product development where a team turns a CAD file into a physical, testable object within days, runs a clearly defined set of tests, and incorporates the results into the next revision. Each prototype is an MVP—containing only the minimum features needed to solve the "current problem," not the final product. The real value is not in the part itself, but in the decisions that part enables you to make.
The processes that support this workflow—SLA, SLS, MJF, FDM, CNC, rapid injection molding, sheet metal fabrication—share a common characteristic: they remove "hard tooling sunk costs" from the iteration equation. When the cost of each round drops from hundreds of thousands to thousands of dollars, the team can afford to "fail early"—and "willingness to fail early" is precisely why designs can be right in the mass production phase.
Why "Cost Per Iteration" Dominates All Other Metrics
A project that can afford ten rounds at USD 600 each will yield a better design than one that can only afford two rounds at USD 30,000 each—even if the total budget is the same. Cheap iterations beat expensive planning because physical parts reveal issues like interferences, deflection paths, heat dissipation, and assembly friction that CAD reviews cannot find; and for these discoveries to pay off, the team needs to turn them into the next part and retest quickly enough before momentum evaporates.
Digital manufacturers who return Design for Manufacturability (DFM) feedback with their quotes tighten this loop: the team gets not just a part, but an interpretation of "what this part says about manufacturability." This replaces the costly "design review meetings with mold manufacturers" that used to be a core node in traditional product development.
Cost Model Per Iteration
The table below uses a 120 × 80 × 40 mm housing as a reference geometry to compare the actual cost and lead time of "one iteration" (defined as a new, testable part) for each major process.
| Process | Cost per Iteration (USD) | Lead Time | Parts per Iteration | When Suitable |
|---|---|---|---|---|
| Hardened Steel Mold + Injection | 25,000 – 120,000 | 6 – 10 weeks | 100 – 100,000+ | Mass production, not suitable for iteration |
| Aluminum Bridge Mold + Injection | 3,500 – 8,000 | 2 – 3 weeks | 500 – 10,000 | Late stage validation with real resin |
| CNC (Plastic or Metal) | 150 – 600 | 2 – 5 days | 1 – 5 | Immediate mass production material behavior |
| SLA (Resin) | 40 – 180 | 1 – 3 days | 1 – 20 | Appearance, fit, concept |
| MJF (Nylon) | 60 – 250 | 2 – 4 days | 1 – 40 | Functional, near isotropic |
| SLS (Nylon) | 70 – 280 | 3 – 5 days | 1 – 30 | Functional, complex internal geometries |
| FDM (Industrial Grade) | 30 – 120 | 1 – 3 days | 1 – 10 | Large, low aesthetic requirements, tough |
Two patterns emerge from this table. First, there's a difference of almost three orders of magnitude between a USD 100 SLA iteration and a USD 38,000 steel mold—all arguments that "rapid prototyping is too expensive" conflate these two entirely different cost magnitudes. Second, "cheap" isn't just about "how much per part," but about "how much closer can this round get us to a decision"; this is why a USD 4,500 rapid injection molding round can sometimes be "cheaper" than three USD 250 MJF rounds—if that round truly addresses your problem.
Overview of Nine Rapid Prototyping Processes
Most rapid prototyping discussions eventually converge on the choice between nine processes. The table below arranges them by attributes that truly influence selection: feature accuracy in millimeters, lead time, cost per part range, most suitable test types, and common pitfalls.
| Process | Layer/Feature (mm) | Typical Lead Time | Per Part (USD) | Best For | Watch Out For |
|---|---|---|---|---|---|
| SLA | 0.05 – 0.15 | 1 – 3 days | 40 – 180 | Appearance models, fit checks, fine details | Brittle, UV sensitive |
| DLP | 0.03 – 0.10 | 1 – 2 days | 35 – 150 | Fine aesthetics, dental parts | Small build volume |
| SLS | 0.08 – 0.12 | 3 – 5 days | 70 – 280 | Complex internal geometries, living hinges | Grainy surface, nylon only |
| MJF | 0.08 – 0.15 | 2 – 4 days | 60 – 250 | Production-grade functional prototypes | Dark color, difficult to dye light |
| DMLS | 0.02 – 0.05 | 5 – 10 days | 600 – 3,500 | Metal brackets, conformal cooling inserts | High cost, requires post-processing |
| FDM (Industrial Grade) | 0.12 – 0.30 | 1 – 3 days | 30 – 120 | Large, tough parts with real engineering materials | Visible layer lines, anisotropic strength |
| PolyJet | 0.015 – 0.03 | 2 – 4 days | 120 – 500 | Multi-material/overmolding simulation, color | Brittle, UV sensitive, high cost |
| CNC | Tolerance ±0.05 | 2 – 5 days | 150 – 600 | Production material behavior, tight tolerances | Cannot create deep internal channels |
| Rapid Injection Molding | Mold ±0.1 | 2 – 3 weeks | 3,500 – 8,000 mold | Bridge to production, real resin testing | Parting line locked in |
Choosing Within Process Families
Once the comparison table narrows the scope, the final decision usually falls within three families: photopolymer jetting and vat polymerization, powder bed fusion, and subtractive manufacturing and forming. Each family has a different internal logic because they address different prototyping problems.
Photopolymer Family: SLA, DLP, PolyJet
The photopolymer family excels in surface finish and detail. An SLA part with a 0.05 mm layer thickness looks like an injection molded part to the naked eye; DLP has finer XY resolution than SLA but a smaller build volume, forcing larger parts to be printed in sections. PolyJet pushes the aesthetic game of this family to multi-materials: a single build can simultaneously print a rigid ABS-like core and a Shore A soft pad, which is irreplaceable for early human factors evaluation. The common weakness of this family is mechanical durability—the elongation at break and fatigue life of photopolymer resins must be understood as "they will lie to you" before running repetitive loading tests.
Powder Bed Family: SLS, MJF, DMLS
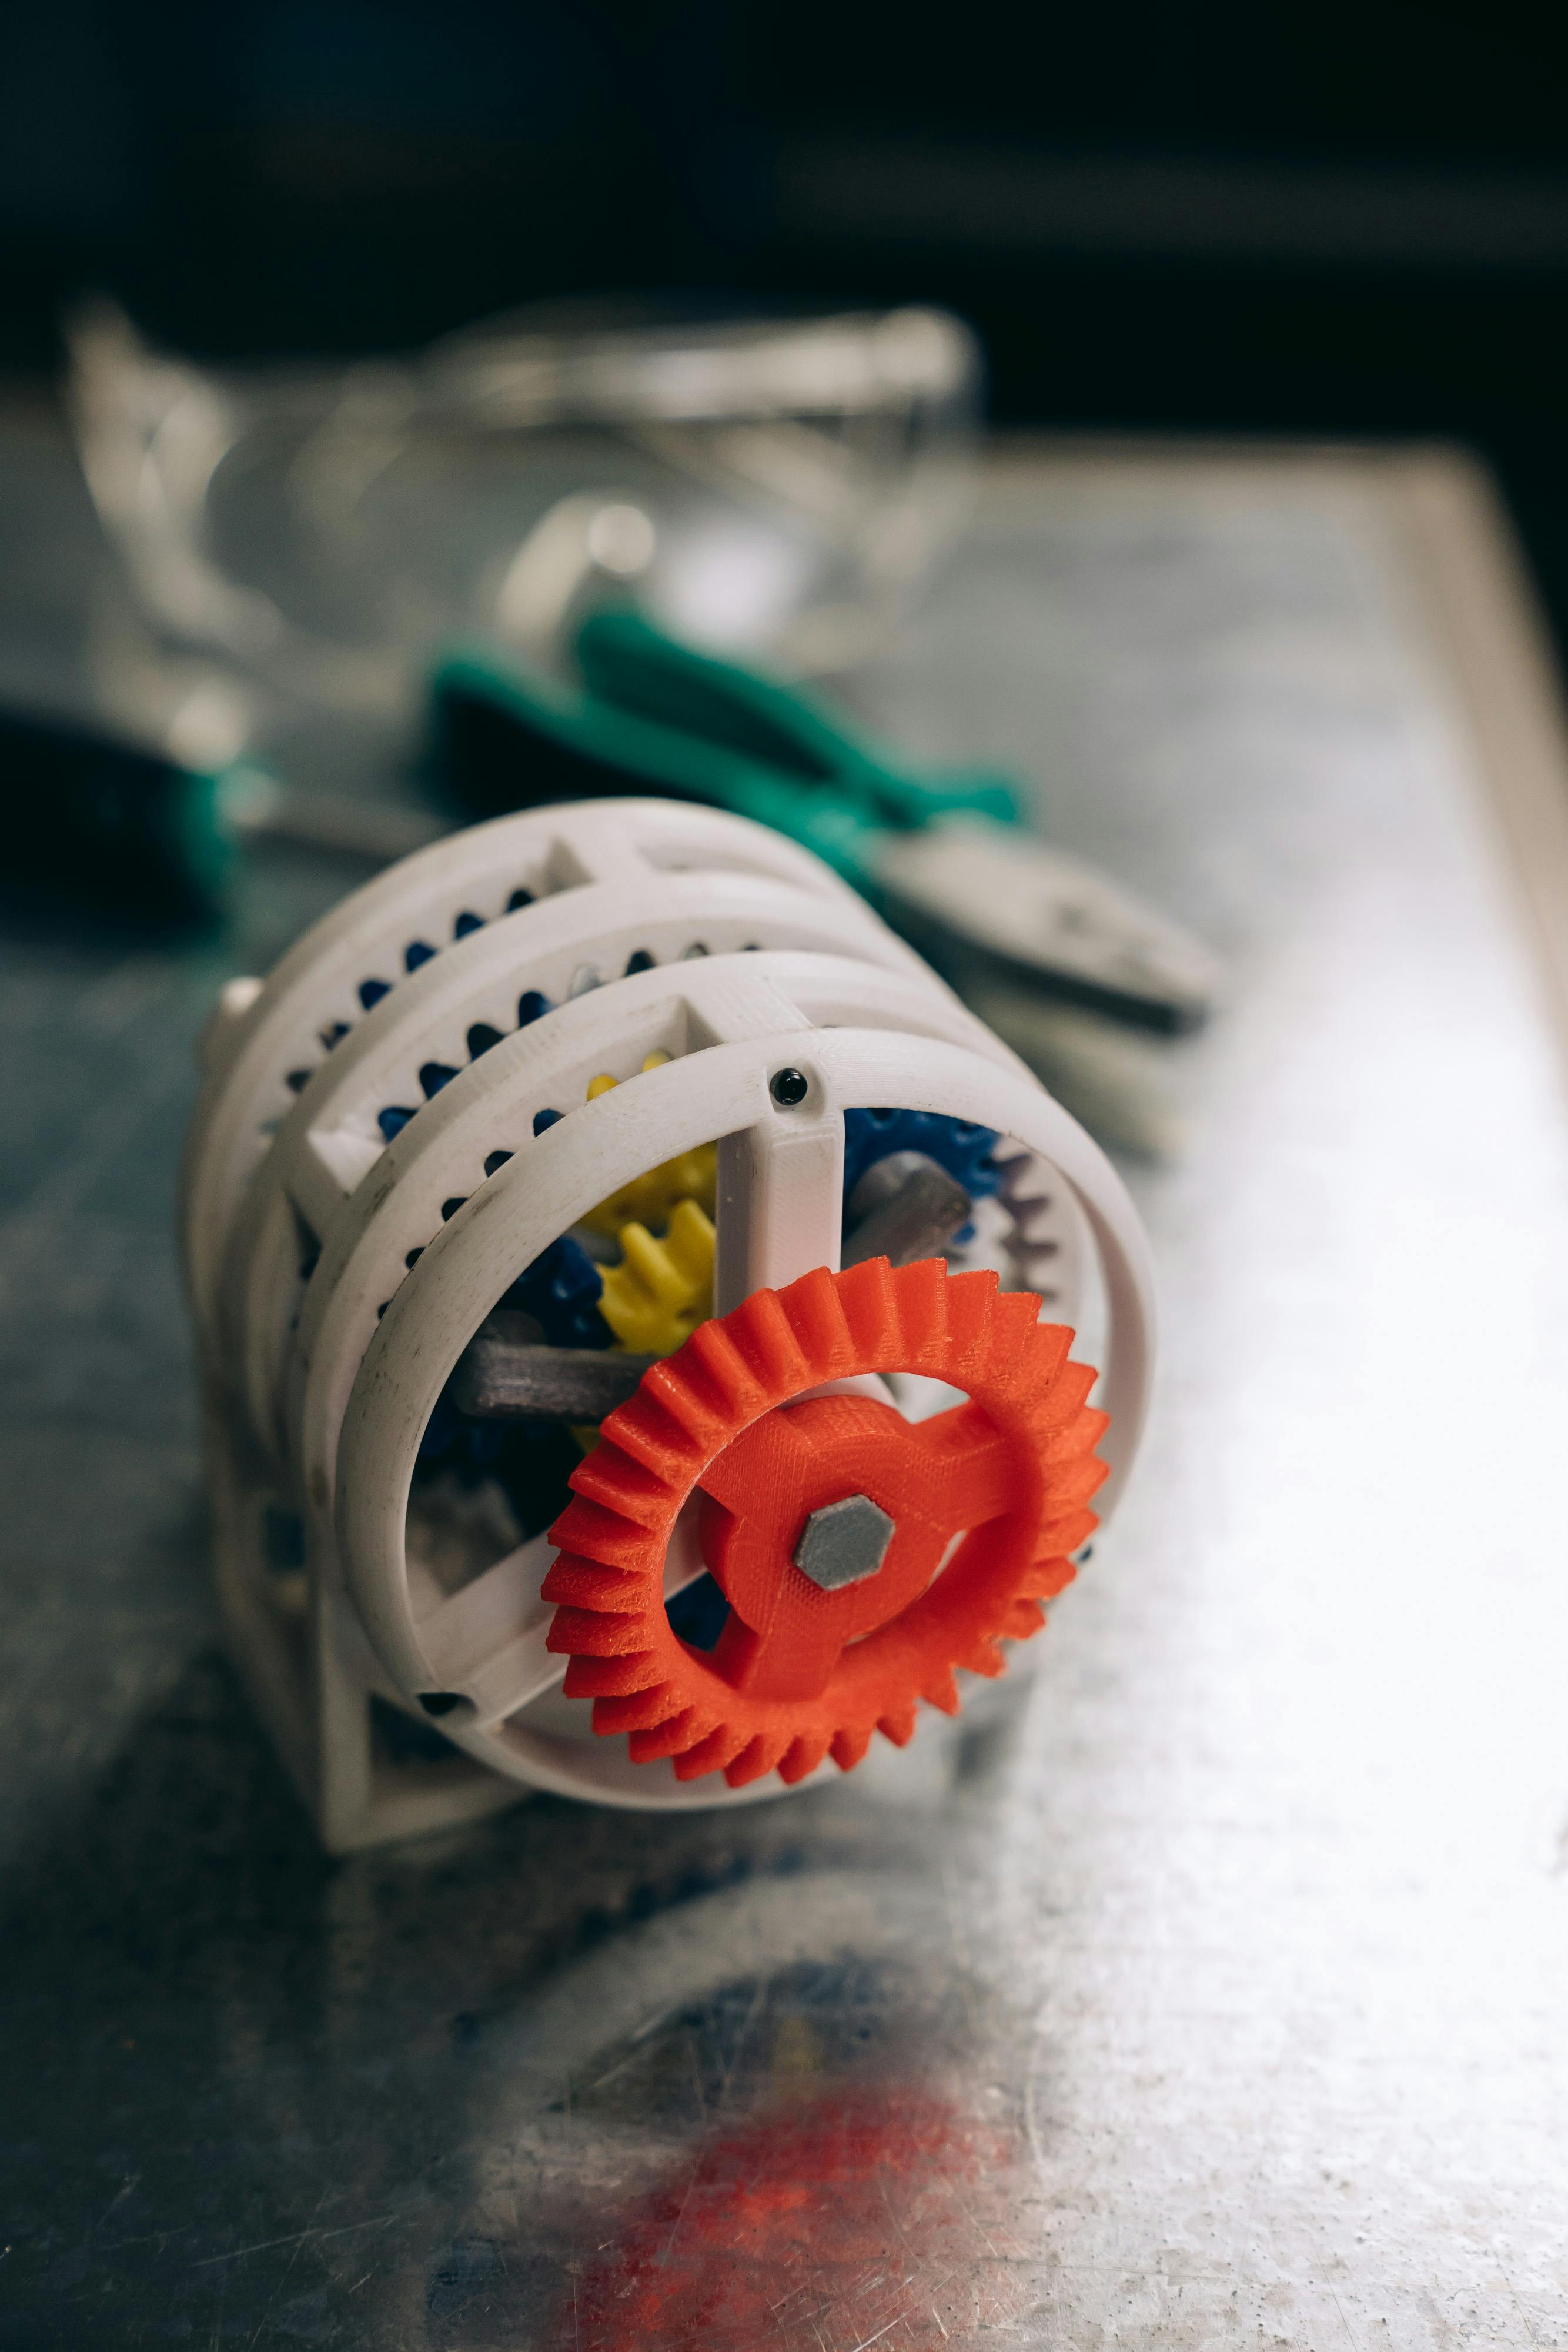
The powder bed family is the home of functional prototypes. SLS nylon parts can withstand tens of thousands of living hinge cycles. MJF closes the isotropic gap of SLS—x/y/z strength differences converge from a typical 25–30% in SLS to nearly 10%—which is why MJF has quietly become the default for "production-oriented functional prototypes" between 2024 and 2026. DMLS extends this family to metals, producing fully dense stainless steel, titanium, and aluminum parts with yield strengths within 5–10% of forged parts; the per-part cost is so high that it only makes sense when the geometry (conformal cooling, topology optimized brackets) rules out machining. A common limitation of the family is surface finish: every powder bed part will have a slightly grainy, matte surface, which can be sandblasted smooth, but cannot achieve SLA-level translucency without chemical treatment.
Subtractive and Forming Family: CNC, Rapid Injection Molding, Sheet Metal
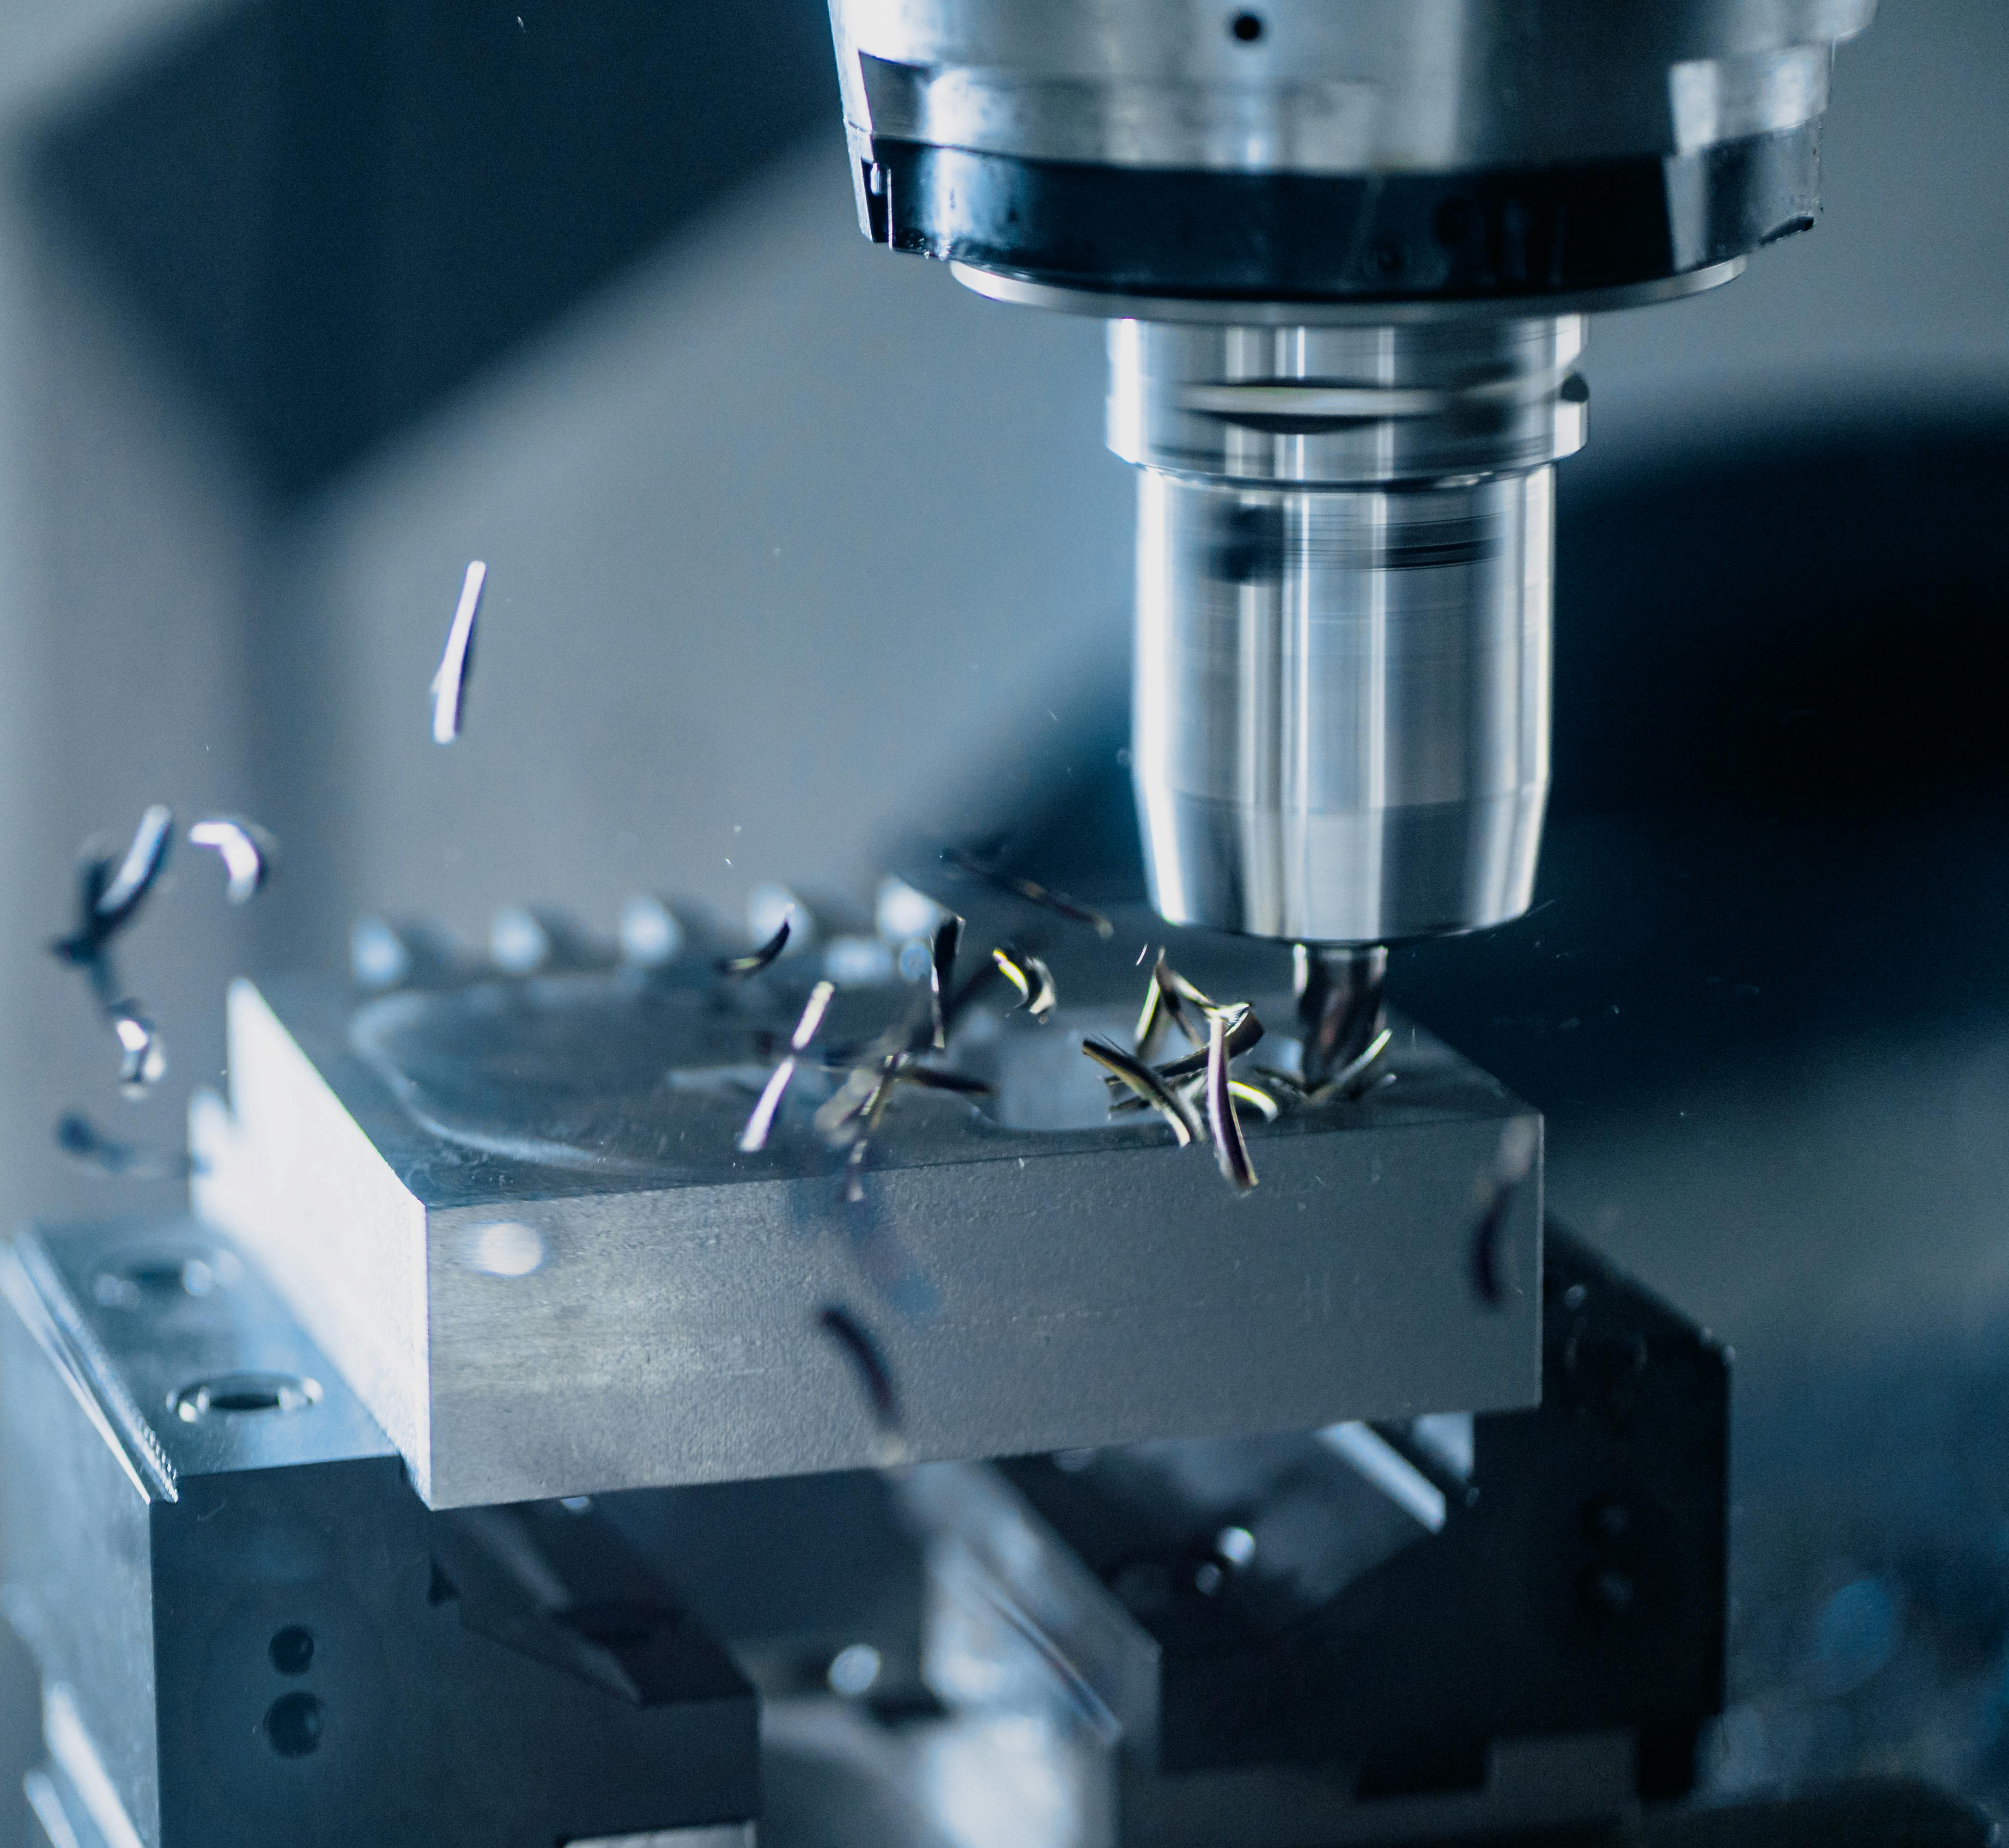
The third family trades the freedom of additive manufacturing for the behavior of production materials. A CNC-machined PC part will behave exactly like the injection molded PC part you will ultimately ship—this is critical when the question is "can this snap fit withstand 50 cycles at –10 °C?" Equivalent parts made with SLA or MJF cannot honestly answer this. Rapid injection molding takes it a step further, putting you in the final resin and final gate configuration, revealing weld line weakening and shrinkage deformation that printed parts without parting lines would never show. Sheet metal fills the gaps left by the first two families: brackets, housings, chassis—a 1.5 mm aluminum sheet bent is cheaper than printing or machining, and often prototypes only need surface changes to carry over to production.
Align Your Prototypes with Your Tests
Once you stop asking "which process is best" and start asking "what question needs to be answered in this round," process selection becomes much simpler. The table below matches five types of tests common in most hardware projects with the processes and materials that typically solve the problem at the "lowest cost per useful data point."
| Test Category | What it Proves | Recommended Approach | Material Clue | Typical Cost + Lead Time |
|---|---|---|---|---|
| Concept/Stakeholder Alignment | Shape and size feel right | SLA or DLP, painted | Any aesthetic resin | USD 80–200, 2–3 days |
| Fit and Assembly | Parts fit, fasteners align, tolerance stack-up acceptable | SLA for housing, CNC for mating surfaces | ABS-like resin + 6061 | USD 250–700, 3–5 days |
| Functional/Mechanical | Loads, deflection, living hinges work | MJF or SLS Nylon | PA12 (glass-filled if stiffness is critical) | USD 150–400, 3–5 days |
| Durability/Life | Wear, creep, fatigue, environmental aging | CNC production resin, or rapid injection molding | Equivalent to production grade | USD 4,000–9,000, 2–3 weeks |
| Regulatory (UL/FDA/FCC) | Submission parts' geometry and material conform to intent | Rapid injection molding or CNC | Production-grade resin with full COA | USD 6,000–15,000, 3–4 weeks |
Five Strategies to Truly Lower Iteration Costs
The strongest predictor of a "cheap" rapid prototyping project is not which process the team chose—but whether each prototype was built to answer "exactly one question." Teams that try to simultaneously finalize human factors, fit, appearance, and drop test performance with a single SLA print will end up re-running three of those, because the SLA resin used for appearance is not the right material for drop tests. A prototype that refuses to answer multiple questions at once is cheaper, yields data faster, and leaves a clearer trail for the next version.
The second strongest predictor is modular geometry. Make high-risk features—snap fits, living hinges, seal grooves—into replaceable inserts, keeping the main body of the carrier unchanged in each version. Re-printing only a hinge on FDM costs USD 25 with a half-day lead time; re-printing the entire housing costs USD 180 with three days. Over five rounds, the difference is USD 775 and ten working days, which in the pre-launch sprint means the difference between "shipping" and "missing the window." Modular prototyping also allows two engineers to iterate on different areas simultaneously without stepping on each other's toes with the same build file.
The remaining three strategies reinforce the first two: choose a digital manufacturing partner who provides machine-readable DFM feedback with every quote, letting problems surface before construction begins; let the material match the problem rather than the final BOM (human factors review does not require production TPU); completely skip surface finishing on early parts—polishing, painting, and texturing belong in the round before mold opening, not the second round. Teams that apply all five of these strategies can typically run five to seven rounds for the cost of two rounds with a naive process—this is the true source of rapid prototyping's compounding advantage.
Transitioning from Prototype to Production
A design that wins on 10 prototypes rarely wins on 10,000 production units. The table below lists the three scale thresholds most hardware teams will cross, and what each threshold forces the design to prove before the team can commit.
| Scale | Recommended Approach | Must Validate Before Commitment | Typical Mold/Jig Investment |
|---|---|---|---|
| ~100 units / Pilot Run | MJF, CNC or Aluminum Bridge Mold | Geometric tolerances, basic functionality | USD 0 – 8,000 |
| ~1,000 units / Bridge Production | Aluminum Bridge Mold, Rapid Injection Molding | Real resin flow, weld lines, gate marks, draft angles | USD 8,000 – 25,000 |
| 10,000+ units / Mass Production | Hardened Steel Mold Injection, Production CNC | Draft angles on every face, gate location, cycle time, color stability, regulatory | USD 25,000 – 120,000+ |
The most common failure in this transition is committing to a hardened steel mold before running at least one round with an aluminum bridge mold using the actual production resin. A bridge mold will catch weld lines and shrinkage—two failure modes that will consume schedule later in the project—at about one-tenth the cost of re-working a steel mold. We've never seen a team regret running that bridge mold; we often see teams regret skipping it.
Real-world Examples

A Consumer Electronics Team: From SLA Fit Checks to MJF Field Trials
A startup making a clip for a wearable fitness sensor used SLA for the first four prototype rounds because the shape and strap geometry hadn't converged. Rounds one and two, costing USD 140 each, used a dummy wrist fixture to answer pure fit questions. The third round was still SLA, with soft-touch spray paint for CES pre-show simulation, about USD 380. By the fourth round, the team had finalized the shape, and the discussion shifted to "can the clip withstand 5,000 open-close cycles without losing preload?"—SLA couldn't answer this question because its photopolymer resin creeps under sustained strain.
The fifth round switched to MJF. The first MJF build, printed in PA12, cost USD 220. The living hinge broke at the junction of the strap lug and body after 1,800 cycles. CAD never indicated a problem in that corner; the hinge passed every static FEA round. Rounds six and seven added a 0.6 mm fillet, re-printed at the same USD 220 price point, and withstood 8,200 cycles, at which point the team declared the design ready for a 500-unit MJF field trial.
Key Design Action: The team refused to let SLA answer durability questions. If they had forced rounds four and five into a single SLA round "with more durable resin," they would have spent USD 600 on a part that still taught them nothing about PA12 hinge fatigue. From the first round to trial readiness, the entire project involved seven rounds, totaling USD 3,080 and 34 days—about 8% of the cost of a single steel mold iteration.
Medical Handheld Device Grip: Locking Down Hardness Before Tooling
A real-time diagnostic device required a grip that healthcare professionals could hold securely even with nitrile gloves. The design team printed five versions with PolyJet, ranging from Shore 40A to Shore 70A hardness, each costing USD 480, for a double-blind grip study with 12 clinicians. Shore 55A scored highest for grip retention with wet hands; Shore 70A scored highest for control during fine movements; Shore 40A was eliminated for being "too slippery with gloves." The team took Shore 55A into TPE overmolding tooling, avoiding a USD 14,000 re-tooling cost for a hardness change after mold opening. Total PolyJet cost: USD 2,400, nine days.
Industrial Sensor Housing: Jumping Directly from CNC to Rapid Injection Molding
An industrial IoT team used CNC machining of Delrin to validate the first 40 sensor housings because the client's factory required production resin from day one. One CNC round cost USD 310, with a 4-day lead time. When the project needed 1,500 units for a field trial, the team completely skipped FDM and SLS—neither could pass IP67 seal tests—and went directly to an aluminum bridge mold at USD 6,800, with a 17-day lead time. The bridge mold produced 1,500合格 housings at USD 4.20 per unit, while also revealing two weld line locations that needed gate re-configuration before opening the hard steel mold. This repaid the cost of CNC machining within the first 48 parts. Total transition investment: USD 19,200, covering CNC validation, the bridge mold, and the parts themselves.
Dos and Don'ts of Process Selection
| Do | Don't |
|---|---|
| Before quoting, name the single question each prototype must answer | Quote a "general functional prototype" without a test plan |
| Reserve the aluminum bridge mold for the round before opening the hardened steel mold | Jump directly from SLA to hardened steel molds |
| After fit is finalized, use MJF PA12 for loaded functional prototypes | Run durability or fatigue tests with SLA resin |
| Make high-risk features into replaceable inserts, re-print only that section | Re-print the entire housing for a 5 mm fillet change |
| Let prototype material match the problem (Shore A for grips, PA12 for hinges, PC for snap fits) | Reach for the same default resin every round |
| Request DFM feedback with every quote | Wait for the first part to be rejected to discover undercuts |
Common Mistakes and How to Avoid Them
| Mistake | Why it Fails | How to Avoid |
|---|---|---|
| Running durability tests with SLA | Photopolymer resins creep and lose 30–60% strength under UV; fatigue data is meaningless | Move durability to MJF PA12 or CNC with production resin |
| Bundling fit, function, and appearance into one prototype | No single resin serves all three; two of them will need re-testing | One prototype, one question, one resin |
| Skipping the aluminum bridge mold round | Weld line and shrinkage failures only emerge with real resin; steel mold rework costs 10x the bridge mold | Budget for a bridge mold round before committing to any hardened steel mold |
| Re-printing the entire housing for a minor feature change | Burning USD 150+ per round on areas that haven't changed | Modularize high-risk features into replaceable inserts |
| Selecting a process before writing the test plan | Process selection becomes disconnected from what needs to be proven in that round | Write the test plan first, and let it dictate the process |
| Treating the first MJF build as production-ready | MJF part repeatability is unacceptable before depowdering, dyeing, and orientation adjustment | Plan at least two MJF rounds—one for learning orientation, one for validation |
Pre-flight Checklist
- The single question this prototype needs to answer has been written down in one sentence
- The material on the quote matches that problem, not the final BOM
- The manufacturer has returned DFM feedback, and every flag has a decision attached
- High-risk features are either replaceable inserts or the sole reason this entire round exists
- Unless this round is for aesthetic review, there are no surface finishing items on the quote
Design Philosophy
Rapid prototyping is not about speed, but rather a discipline: ensuring each iteration answers a question at a justifiable cost. Teams that ship on time choose processes that chase "this week's problem"—SLA for form, MJF for function, CNC for mass production behavior, and aluminum transition molds before steel tooling—while keeping geometries modular, so the next version never incurs retooling costs for unchanged areas. The project cost advantage isn't 10% or 20%; it's a difference in magnitude, between "USD 3,000 for seven sprints" and "USD 38,000 for one mistake." Every hardware project willing to iterate honestly will enjoy this compounding benefit.


0 comments